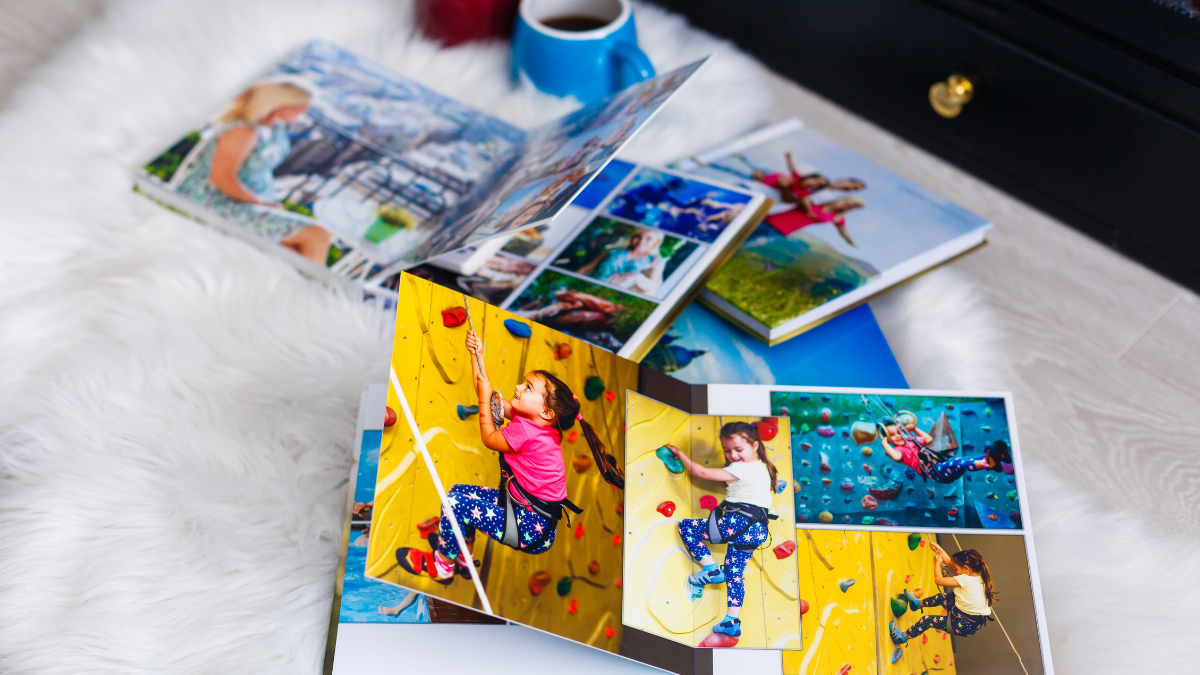
DIY Memory Photo Book for Kids: Create Cherished Keepsakes Together
As parents, we know how quickly our little ones grow and how precious every moment is. Why not capture these treasured memories in a fun and creative way?
Our DIY Memory Photo Book is the perfect project for kids to relive their favourite moments and share them with friends and family. Let's gather the supplies and get started on this wonderful journey of preserving memories!

Supplies Needed:
- Cardstock or thick construction paper (various colours).
- Photo prints.
- Scissors.
- Glue stick or double-sided tape.
- Markers, coloured pencils, or stickers for decorating.
- Hole puncher.
- Ribbon or yarn.
Instructions:
Step 1: Invite your little ones to pick out their favourite photos – the ones that hold special meaning to them. It could be family outings, playdates with friends, time spent with pets, or any memorable events they want to cherish forever.
Step 2: Cut the cardstock or construction paper into equal-sized rectangles. These will form the pages of the memory book. The number of pages depends on the number of photos your kids have selected.
Step 3: Lay out the photos on each page, helping your kids decide on the order they want them to appear in the memory book. Once the arrangement is set, encourage them to use glue or double-sided tape to attach the photos securely.
This is an excellent opportunity for them to add their unique touch – they can write captions or short descriptions under each picture to share the story behind the memories.
Step 4: Now comes the most exciting part – decorating! Let your kids' imagination run wild as they use markers, coloured pencils, or stickers to adorn the pages. They can add drawings, borders, and any other creative elements they like.
This is where their personalities will shine through!
Step 5: Once the pages are fully decorated, stack them together in the desired order to form the memory book. Use a hole puncher to create two or three holes along the left side of the pages. Make sure the holes align with each other.
Step 6: Cut a piece of ribbon or yarn and thread it through the holes, tying it securely to bind the memory book together. This charming finish adds an extra touch of love to their handmade keepsake.
Optional Step: If your kids want to make their memory book even more special, they can create a cover page. Using a larger piece of cardstock, they can decorate it with their name, a title for the memory book, and any other designs they like.
Voilà!
Your kids have now created their very own Memory Photo Book – a treasure trove of their most cherished memories. They can flip through the pages whenever they want to relive those special times and share their stories with loved ones.
Photo prints are a great way to connect with your loved ones. For simple and fast photo printing:
1. Visit Photo Prints Now
2. Upload your photos and select your required print sizes.
3. We'll send your order to your selected Local Photo-Lab and they'll have your prints ready to be picked up on the very same day.

