

How To Create DIY Photo Books at Home in Australia

Are you prepared to take on a creative endeavour to create a personalised photobook that will hold your most treasured memories? Making your own DIY photobook at home is a fun project, especially in Australia where people lead fast lives and feel as though life's fleeting moments pass by too quickly. With Photo Prints Now as your trusted source for photo prints, you can turn these moments into tangible keepsakes, all within the comfort of your own home.
Whether you want to relive your family's adventures, celebrate milestones, or simply showcase your favourite snapshots, creating a photobook is a wonderful way to encapsulate emotions and freeze time. Best feature? It's a really personal project because you have total control over the layout, design, and content.
We'll walk you through the process of making your very own photobook at home in Australia with this guide. With our easy-to-use online ordering system and excellent photo prints, you can quickly create a photo book that uniquely tells your story. Now, let's explore the skill of archiving memories and producing a photobook that will be cherished for many years.
Key Insights:
- Crafting a personalised photobook at home in Australia is a creative and meaningful way to preserve cherished memories.
- Selecting and printing photos from Photo Prints Now simplifies the process of creating a DIY photobook.
- Designing the photobook allows for customisation and personal touches using various design tools and software.
- Assembling the photobook is made easy with step-by-step instructions for binding and layout techniques.
- Preserving and sharing the photobook ensures that your memories are well-maintained and can be enjoyed by others.
Selecting and Printing Your Photos
It's time to start the fun process of choosing and printing your images now that you're prepared to start your DIY photo book project. You can get the high-quality photo prints you need to make your photo book come to life with Photo Prints Now.
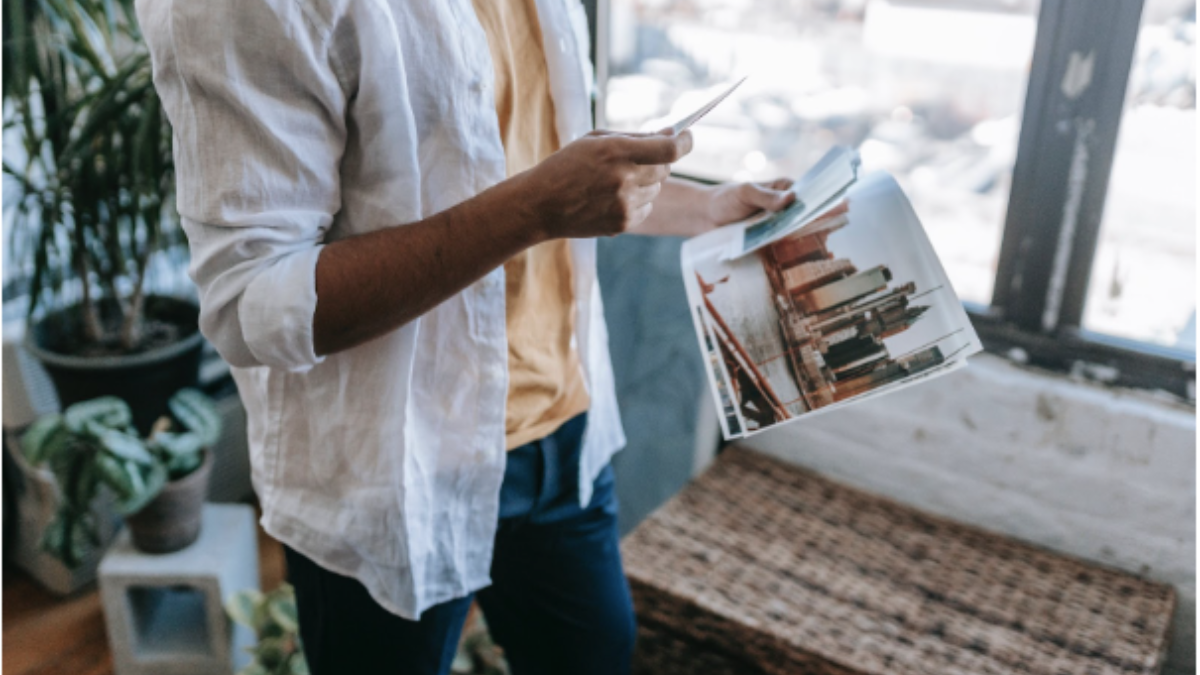
1. Browsing Your Treasured Memories
Begin by browsing through your collection of cherished memories. Choose the pictures that mean the most to you, be they of regular life, significant occasions, or family trips. Take your time in assembling a collection that reflects your individuality.
2. Ordering Prints with Photo Prints Now
Once you've made your photo selections, it's time to bring them to life as high-quality prints. Head over to Photo Prints Now and explore the easy-to-use online ordering platform. Here, you can effortlessly upload your chosen photos and specify your print preferences.
Choose the size of your prints: Whether you prefer standard sizes or something more unique, Photo Prints Now offers a variety of options, including square and wallet prints.
Select the quantity: Decide how many copies of each photo you'd like to include in your photobook.
Choose between home delivery or same-day pick-up at local photo shops for added convenience.
3. Quality You Can Trust
At Photo Prints Now, quality is at the forefront of our services. Rest assured that your chosen photos will be printed with precision and care, ensuring that every detail is captured with clarity. We take pride in providing prints of the highest calibre to honour your priceless memories.
You're getting close to creating a photobook that will best display your priceless memories now that you've finished choosing and printing your images. Stay tuned as we explore the artistic side of creating your photobook in the upcoming section!
Remember to read our blog post on the top photo printing trends and services if you want to learn more about the world of photo printing trends in Australia.
Designing Your Photobook
Now that you have your collection of printed pictures, it's time to start thinking creatively about how to build your photobook. Here's where you can add your own touch and create a beautifully crafted souvenir out of your most treasured memories. This is how to begin:
1. Plan Your Layout
Begin by planning the layout of your photobook. Consider the flow of events or the narrative you hope to convey through your images. Will it be arranged chronologically, or would you rather have it organised thematically? Consider how each page will flow into the next, creating a visually pleasing narrative.
2. Choose a Design Tool
To design the layout of your photobook, you can choose from a variety of user-friendly design tools and software available online. Some popular options include Canva, and Adobe InDesign. These resources include an extensive selection of templates, typefaces, and design components to assist you in realising your vision. Or simply print off your pictures and arrange them however you like.
3. Arrange and Edit
Upload your selected photos to the chosen design tool and start arranging them on the pages. Experiment with different layouts, sizes, and backgrounds to find the perfect look for each page. Don't forget to add captions or descriptions to enhance the storytelling aspect of your photobook. Alternatively, start arranging your photos in your chosen photo book or album.
4. Add Personal Touches
Customise your photo book with personal touches that make it uniquely yours. Include handwritten notes, quotes, or anecdotes that provide context to your photos. You can also play with colours, themes, and embellishments to reflect your style and preferences.
5. Review and Edit
After you've finished designing your photobook, give it a thorough inspection. Look for any mistakes in spelling, alignment, or design. Getting a second set of eyes to review it is always a smart idea.
6. Finalise Your Design
After making any necessary edits and adjustments, it's time to finalise your photobook design. Make sure your product is saved in the right format before printing it. To preserve the best quality, you should usually save your photobook as a PDF file.
You are now one step closer to creating a gorgeous remembrance out of your treasured memories with the completion of your photobook design. Assembling and binding your photobook to make it a physical treasure is what we'll walk you through in the next section. Stay tuned for the upcoming steps to complete your DIY photo book! 🌼
Assembling Your Photobook
You've reached the exciting phase of turning your photobook design into a tangible masterpiece. Assembling your DIY photobook at home is a rewarding process, and here's how to do it step by step:
1. Gather Your Materials
Make sure you have all the supplies you'll need on hand before you start. Your printed pictures from Photo Prints Now, the design you made for the photobook, scissors, glue (or double-sided tape), and a hardcover or binding material are required.
2. Organise Your Printed Photos
Lay out your printed photos in the order you planned in your design. This step helps ensure that your photo book's pages are arranged correctly and that you haven't missed any photos.
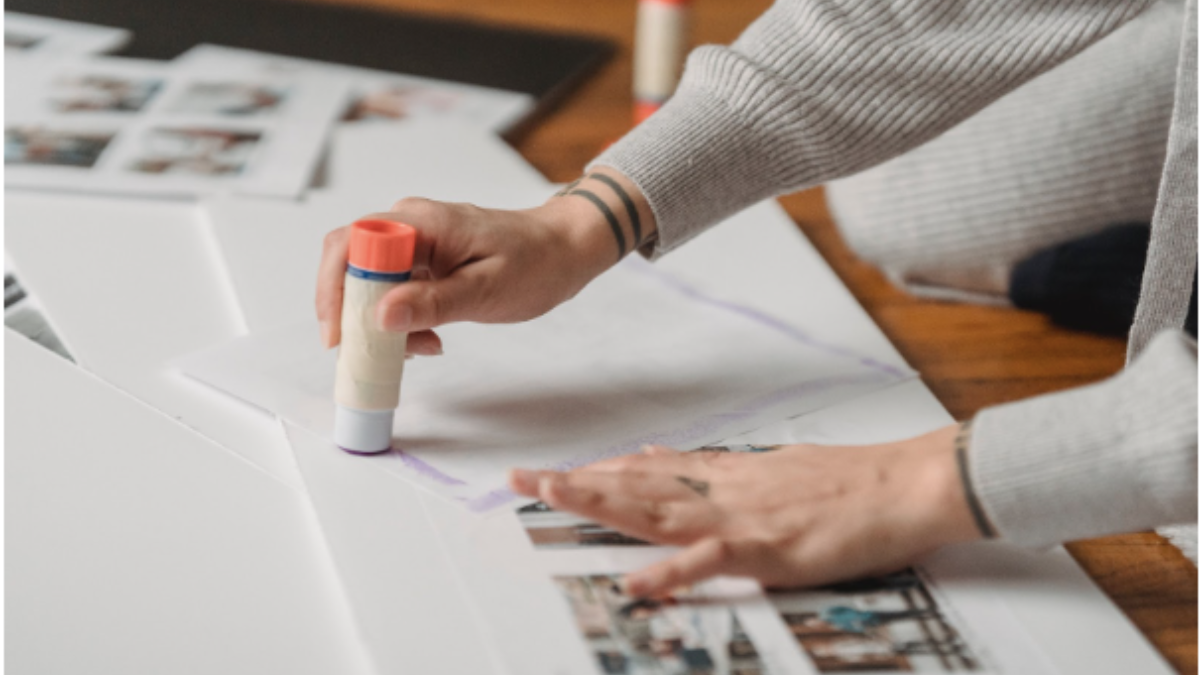
3. Attach the Photos
Put glue on the back of your printed photo, beginning with the first page, and carefully position it on the matching page in your design. Make sure everything is properly oriented, particularly if you are using double-sided tape, which might be difficult to move.
4. Repeat and Assemble
Continue attaching photos to their designated pages, following your layout plan. Take your time to ensure each photo is securely attached and that there are no wrinkles or bubbles. As you progress, you'll see your photobook coming to life page by page.
5. Add the Hardcover
When all of your images are arranged, it's time to incorporate the binding material or hardcover. A variety of binding techniques are available, including ring binding, spiral binding, and even just punching holes and attaching the pages together with ribbons or rings. Select the method that suits your design and style preferences.
6. Secure the Photobook
Make sure the binding is tight and secure. Trim any excess material or ribbon, if necessary. Your DIY photo book is now assembled and ready to be enjoyed or gifted to a loved one.
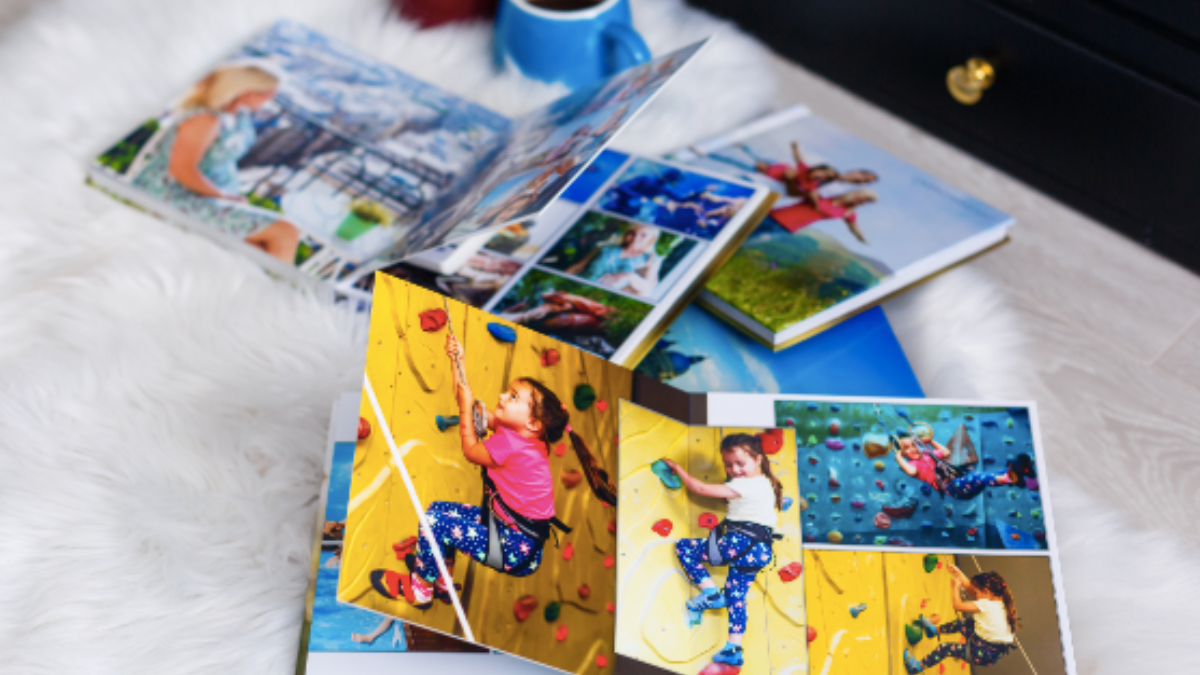
Making your own photobook at home is a creative and gratifying endeavour that lets you relive your most treasured experiences in a creative and tactile way. We'll provide some advice on maintaining your homemade photo book so that it lasts a lifetime in the last part. Keep reading to complete your journey to photobook perfection! 🌟
Preserving and Sharing Your Photobook
Congratulations, you've successfully created a beautiful DIY photo book filled with your cherished memories, all thanks to Photo Prints Now! Now, let's ensure your creation stands the test of time and is shared with those who matter most. Here's how to preserve and share your photobook:
1. Protective Measures
Your photobook will last longer if it is kept out of direct sunlight, excessive humidity, and hot or cold temperatures. To shield the pages from moisture and dust, think about putting it in a cover or protective sleeve.
2. Handle with Care
When handling your photobook, make sure your hands are clean and dry to avoid transferring oils or dirt to the pages. Hold it gently by the binding to prevent any unnecessary wear and tear.
3. Regular Inspections
Periodically check your photobook for any signs of wear or damage. If you notice loose pages or wear along the binding, address it promptly to prevent further deterioration.
4. Sharing the Joy
Your DIY photo book is a treasure trove of memories, so don't keep it hidden away. Share the joy by displaying it in your home. Consider placing it on a coffee table, a bookshelf, or even hanging it as wall art for all to admire.
5. Gift to Loved Ones
Photo Books also make heartfelt gifts. On important events like holidays, anniversaries, or birthdays, show your creation to those you care about. It's a kind and unique gift that they will remember for a long time.
6. Digital Copies
For the digital age, consider scanning or photographing your photobook to create a digital backup. This ensures that even if the physical copy experiences wear, you'll always have a digital version to enjoy.
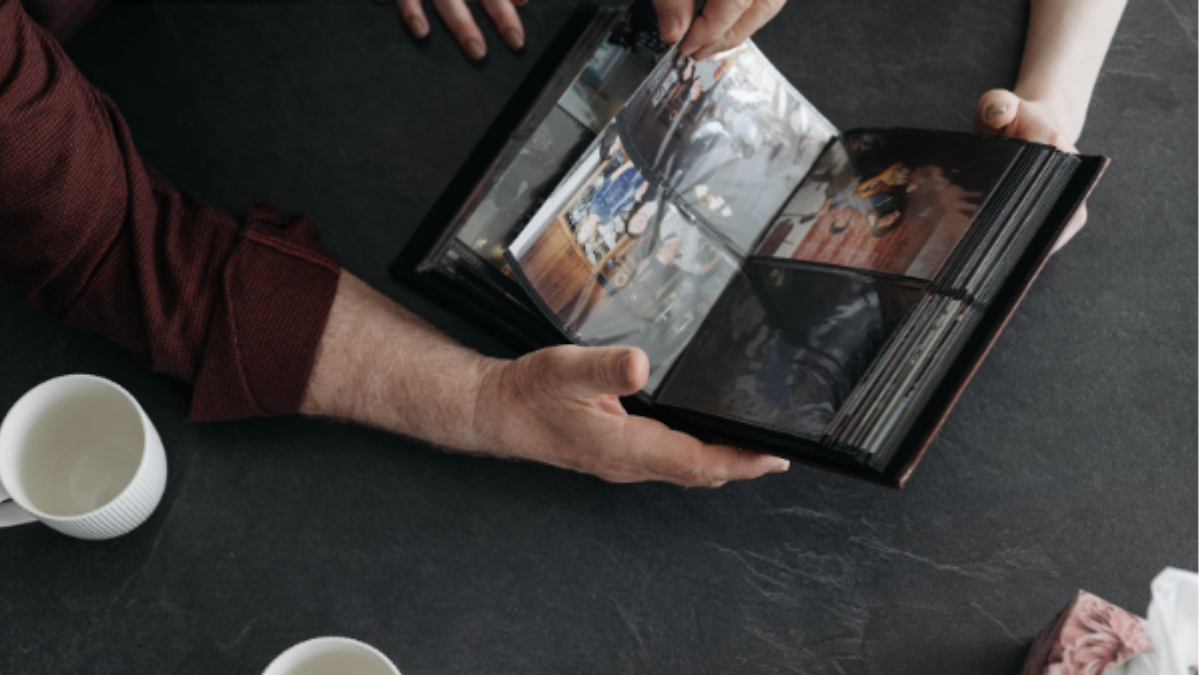
7. Tell Your Story
Use your DIY photo book as a conversation starter. When friends and family visit, flipping through its pages can lead to heartwarming discussions and storytelling sessions, strengthening the bonds with your loved ones.
Creating a photobook at home with your Photo Prints Now photos is a wonderful way to preserve your memories and share them with others. Whether it's gracing your home decor or brightening someone's day with a thoughtful gift, your photobook will continue to bring joy for years to come.
🌟 Elevate Your Home Decor with Same-Day Photo Printing from Photo Prints Now 🌟
Looking to transform your cherished moments into stunning decor or unforgettable gifts? Discover the magic of same-day photo printing with Photo Prints Now, your trusted partner in preserving memories and adding a personal touch to your surroundings.
📸 Photo Prints: Print your favourite photos in various sizes, including square and wallet prints.
🖼️ Canvas Prints: Turn your photos into breathtaking works of art with our custom canvas prints. Create Yours Now!
🎨 Wall Art: Discover a variety of wall art styles, from Abstract to Vintage, that give your home decor a touch of elegance.
🌺 Family Crests: Celebrate your family's legacy with our distinctive family crest designs.
☕ Custom Mugs: Personalise your mornings with custom coffee cups, available in various themes like Christmas, Love, and more.
📜 Poster Prints: Turn your photos into poster-size art that makes a statement.
Don't miss out on the opportunity to transform your space into a gallery of memories. With same-day photo printing, your favourite moments are just a click away from becoming stunning decor or heartfelt gifts. Explore Photo Prints Now today and experience the convenience of instant photo solutions!
FAQs
What are the steps to create a DIY photobook at home in Australia?
Answer: To create a DIY photobook at home in Australia, you can follow these steps: Select and print your photos from Photo Prints Now, design your photobook, assemble it with easy binding techniques, and then preserve and share your creation.
Where can I order high-quality photo prints in Australia?
Answer: You can order high-quality prints for your DIY photo book in Australia from Photo Prints Now, a reliable source for printing photos and creating personalised photo books.
What design tools or software can I use to design my DIY photo book?
Answer: There are various design tools and software options you can use to design your DIY photo book, such as Adobe InDesign, Canva, or even the design tools provided by Photo Prints Now on their website.
How do I bind and layout my DIY photo book easily?
Answer: Binding and layout for your DIY photo book can be done easily by following step-by-step instructions. You can find helpful guidance and tips on the Photo Prints Now website to make this process smooth.
What are some tips for preserving the quality of my photobook?
Answer: To preserve the quality of your DIY photo book, store it in a cool, dry place away from direct sunlight.