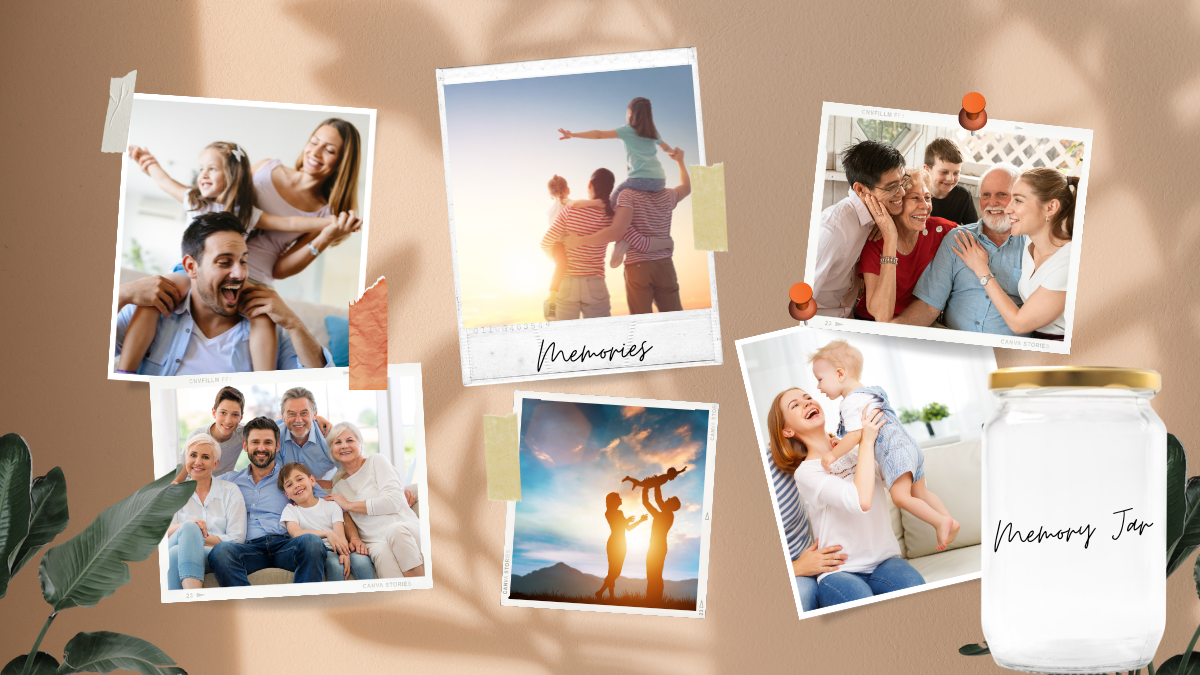
DIY Family Memory Jar: Capturing Moments that Matter
As the years pass, it's easy to forget the small moments that bring joy and meaning to our lives. We often find ourselves reminiscing about these cherished memories, wishing we had a way to preserve them in a tangible form. That's where our DIY Family Memory Jar comes in – a simple yet heartwarming project that will allow your family to capture and relive those special moments for years to come.

Supplies Needed:
- 2x3 photo prints
- A clean, empty glass jar with a lid (Mason jars work great for this!).
- Scissors Pens, markers, or colourful pens for writing.
- Ribbon or twine (optional for decoration).
- Decorative stickers or washi tape (optional for added flair).
- Paper.
Instructions:
Step 1: Start by choosing a clean, empty glass jar with a lid. Mason jars are not only functional but also add a charming touch to your memory jar. You can also opt for any other glass jar you have at home.
Make sure it's large enough to hold plenty of memories throughout the year.
Step 2: Choose your most beloved 2x3 photo prints (feel free to opt for slightly larger sizes, as long as they fit nicely inside the jar).
On the reverse side of each photo, invite your family to jot down the precious moments they wish to cherish or heartwarming quotes they want to preserve.
The beauty of this project lies in capturing the little things that make your family unique and wonderful.
Step 3: Decorate the Memory Papers (Optional) For an added touch of creativity, your family can add additional quotes or stories on the memory papers using pens, markers, or colourful pens. Feel free to add drawings, doodles, or even a mini illustration that represents the moment.
Step 4: Fill the memory jar now or as the year progresses. Encourage your family to add new memories whenever they occur. The jar will gradually become a treasure trove of heartwarming moments and shared experiences.
Step 5: Decorate the Jar (Optional). To make the memory jar even more special, consider decorating the jar with ribbon, twine, decorative stickers, or washi tape. This step is entirely optional, but it can add a lovely touch to your memory keepsake.
Step 6: At the end of the year, gather your family and open the memory jar together. Take turns reading the memories out loud and relive the moments that brought smiles to your faces and warmth to your hearts.
This activity is not only a beautiful way to bond but also a chance to express gratitude for the little blessings that have filled your lives.
Start this beautiful tradition today and create a treasure chest of memories that will strengthen your family's bond for years to come! Happy crafting and memory-making!
Printing photos is just as easy as these memory jar!
1. Visit Photo Prints Now
2. Upload your photos and select your required print sizes.
3. We'll send your order to your selected local Photo-Lab and they'll have your prints ready to be picked up on the very same day.

